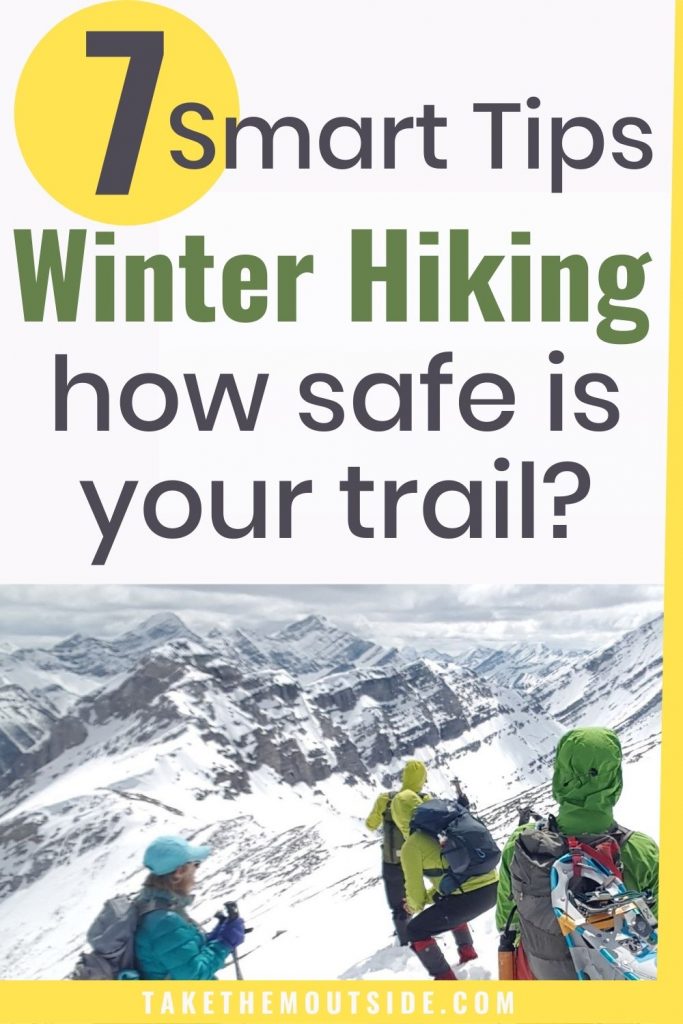
There are a lot of factors that can make or break a hiking trip any time of the year. However, when it comes to hiking in the mountains during the snowy months, one more factor needs to be on your radar… how do you know the winter trail you’re hiking is actually safe?
Read on for a story and some very helpful tips from Ken Schmaltz, an experienced, certified, adventurer.
In mid-October, a friend and I were sitting on the summit of Grizzly Peak, taking in the view of the clouds beneath us and talking about how great it was to see so many families in the mountains this summer. It was as if everyone had come out of the enforced hibernation of the winter with a renewed appreciation for how good it felt to be outdoors.

“I wonder if they’ll keep coming to the mountains once the snow starts flying?” I said. After all, your face freezes. Your fingers freeze. Your toes freeze. “I mean, why would anyone do this? It isn’t very pleasant,” I added as I wiggled my toes to see if I could feel them. Did I mention that it was -10 C and an autumn snowfall had turned Grizzly Peak, a steep but enjoyable hike in the summer, into a mountaineering objective?
On the way down, I was still pondering my toes when we met a couple on their way up. Their gloves, pants and running shoes were caked with snow. They looked wet and cold. They were the very picture of people doing something unpleasant. Yet, from the smiles on their faces, it was clear that they didn’t know that was how they were supposed to feel about their situation.
It was also clear that the couple didn’t know that they were walking in a minefield. Rather than follow the summer trail that passes through avalanche terrain in the winter, we’d carefully made our own route to avoid crossing or hiking under avalanche hazards. Luckily, they’d followed our footprints rather than a GPS track of the summer trail. But I couldn’t help but wonder: what if we hadn’t gone up ahead of them or the snow had blown over them? Probably nothing would have happened, but what if…?
Scroll through Facebook hiking pages this time of year and you’ll find people recommending winter hikes that, like Grizzly Peak, are safe in summer but pass through avalanche terrain in winter. You’ll also see people posting epic photos of themselves crossing avalanche slopes, blissfully unaware of the risk they’re taking. Go onto Meetup.com and you’ll even find hiking clubs scheduling trips into avalanche terrain without a mention of the hazards.
Which is why I’m writing this. Enjoying crisp winter air on your face, walking between snow covered trees and the sound of the snow crunching under your boots are definitely worth getting your toes cold for. They don’t call it a winter wonderland for nothing. Especially for families. The memories I have of freezing in the mountains as a kid have kept me warm on many a cold, dark night as an adult.
Hearing the snow crunching under your boots isn’t worth getting caught in an avalanche, though. For those who know where to look, there are more than enough trails through non-avalanche territory to keep you and your family busy all winter long. You don’t have to know how to navigate avalanche terrain and climb a mountain to get to some amazing snow-covered places. You just need to know how to pick safe trails before you even head out.
That’s where this article comes in. It’s not a replacement for avalanche safety training, but the tips below will help you tell trails with avalanche terrain from those without until you enroll in a course.
7 tips for choosing safe winter hiking trails
1. Choose official winter trails
Many provincial and national parks (state and national parks in the U.S.) maintain official snowshoe and winter hiking trails that stay well clear of avalanche terrain.
These trails are usually as close to guaranteed safe as you’ll get, and you’ll find them listed on the park’s website. To be double safe, double check that you’re reading the winter trail description and not the summer trail description. If the park updates trail conditions online, double check them before you head out.
2. Check snowshoeing guidebooks
Hiking guide books are intended for summer conditions, not winter, so they usually don’t mention avalanche hazards on a trail. Snowshoeing guidebooks do.

3. Don’t believe Alltrails and other apps
Some of the trail descriptions in these apps are accurate, others aren’t. The problem is that you have no idea which is which.
For example, google “Mount Chester Alltrails”, and you’ll find the Alltrails description for Mount Chester says it’s a good place to snowshoe. In reality, Mount Chester is a scramble in summer, but in winter the Alltrails GPS track will lead you straight up a very scary looking avalanche gully.
4. Google It
If someone recommends a trail, search its name with and without the word “avalanche.” You can do the same with the “Search this group” box on outdoor Facebook pages.
If you find a trip report that mentions avalanche risk, you can rule out the trail. If you don’t, keep working through these tips to make sure that it’s safe.
If there are reports for the trail in winter conditions, do they show photos of people on snowy, treeless slopes? On slopes with trees that lean downhill or that don’t have branches on the uphill side? These are telltale signs that the slope is prone to avalanches. If there are no winter trip reports for the trail, there could be a reason.
5. Google Maps
Check out the satellite view on Google Maps.
Does the trail cross slopes with no trees or long treeless fingers that cut through the trees, usually from above treeline to the valley bottom? These are signs of avalanche slopes and chutes that you don’t want to walk across.
Does the trail pass under these slopes or at the bottom of those fingers? That’s where all the snow from an avalanche will end up, and it can travel surprisingly far from the bottom of the slope.
6. Ask someone who knows
If you know someone who knows whether the trail is safe – because they’ve taken avalanche safety training and have experience applying that knowledge over time – ask them. Or better yet, call the information office of the park and ask people who are paid to know.
Do not believe recommendations from strangers on Facebook, regardless of how authoritative they seem. Just don’t. Ever.
7. Ask for credentials
If you’re going out with a club, ask what training the organizer has and how long ago they took it. AST-1 is valid for three years, because best practices change, memory fades, and bad habits develop.
Also, ask how winter trips are screened to make sure organizers aren’t taking people into avalanche terrain.
And, be sure to do your own research using the steps above!
If ever there was a winter to get out and embrace nature, this is it. Your kids deserve it and so do you. Trudging through the snow, marveling at the icy world all around me, and wondering if my toes were frozen has kept my sanity intact through many a long, Canadian winter.
Just make sure you are following these steps to make sure your winter hiking trails are safe one!

Written by Ken Schmaltz
Ken Schmaltz has been playing in the Canadian Rockies since he was a toddler. He submitted his first mountain at the age of 11 and hiked the rugged West Coast Trail at 12. He has the Outdoor Council of Canada Field Leader (Hiking) certification, co-founded the Calgary Outdoor Recreation Association, serves as board chair of Crossing the Divide Experience (a non-profit that takes disadvantaged youth into the wilderness), and is a founding board member of Buffalo Lodge Cultural Society (a non-profit that offers Indigenous land-based programming and addiction treatment).
He’s been involved in one avalanche and doesn’t wish to be involved in any more.
Other hiking posts you’ll want to check out:
- How to dress yourself and kids to stay warm in the snow
- How to prepare for overnight hiking with kids
- 10 tips for happy and safe family hiking