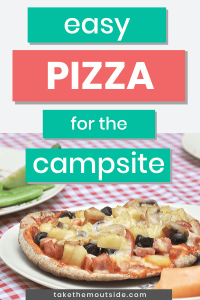
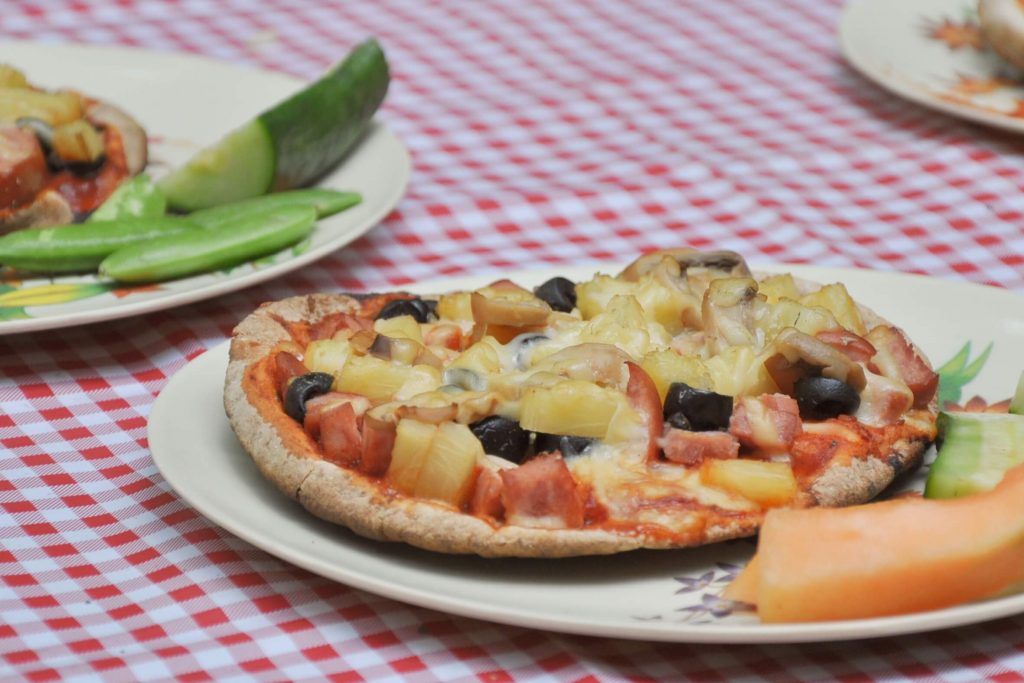
Here it is… two favorite things smashed together: camping and pizza!
When you’re thinking about meals for the campsite, chances are you’re looking for recipes that are quick, low prep, easy to cook, and popular with kids. Well, these camping pizzas fit all those criteria.
Read on down below to find out how we make our camping pizzas. It’s pretty straightforward and you can probably figure it out by the photos. So, take a look and then make a mental note to try these the next time you’re cooking over the campfire.

(This post contains affiliate links for your convenience. As an Amazon Associate I earn from qualifying purchases. If you make a purchase through my link I receive a small commission at no added cost to you. See my policy page for more information)
How to make Pita Camping Pizza
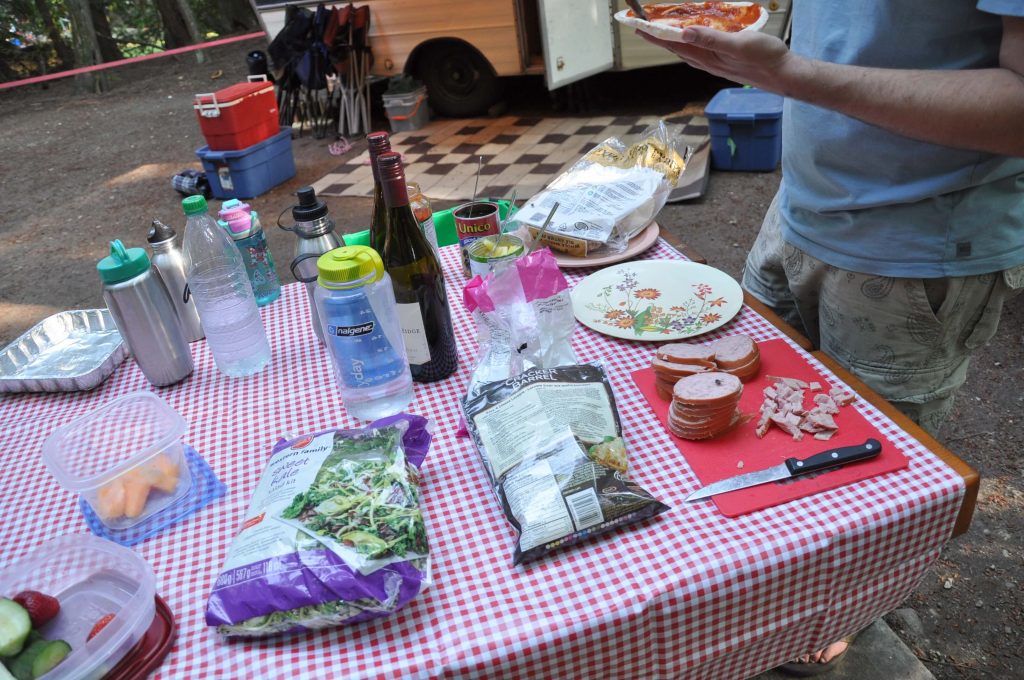
- Gather all ingredients: pitas, pizza sauce, pizza meat, and toppings
- Get your campfire hot with low flames
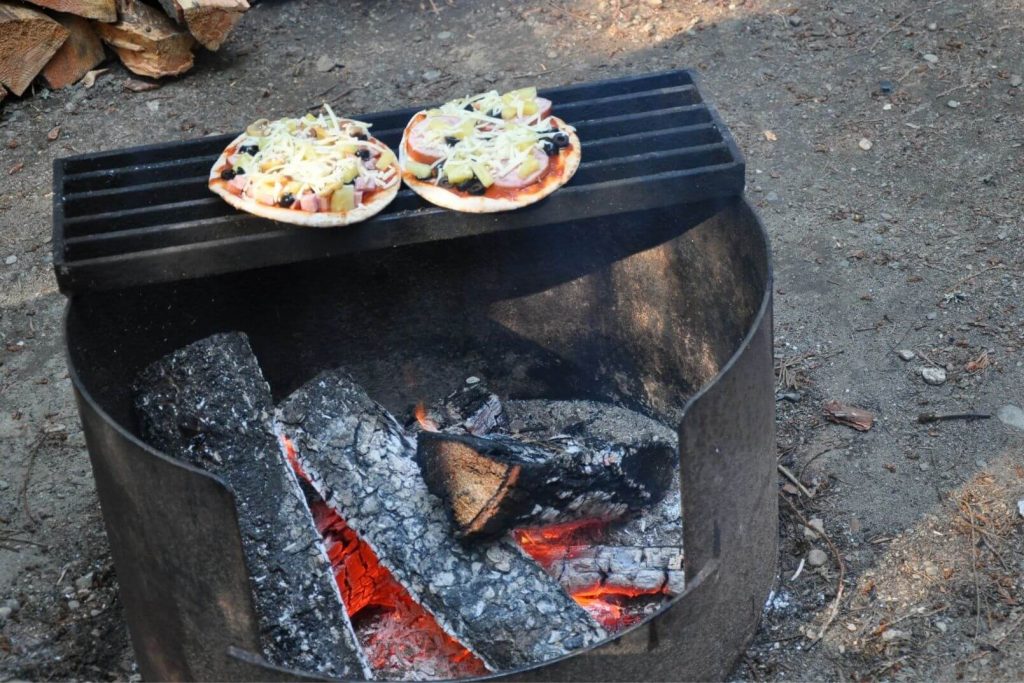
- Assemble the pita pizzas and lay them on the grill over the campfire
- Cover the pizzas by tenting some tinfoil or using an upturned pot or baking tray
- Slide them off the grill when the cheese is bubbly and the edges are golden
- Cut and enjoy!
The finer details on how to make campfire pizzas
1. Gather your supplies:
- Pitas (we like to use whole wheat because they’re a little healthier)
- Pizza meats like cooked ham, cooked bacon, or peperoni
- Pizza toppings like spinach, tomatoes, shredded cheese, olives, pineapple chunks, onions, mushrooms, and peppers
- Heavy duty aluminum foil or cast iron fry pan or baking tray
- BBQ tongues or flipper, (possibly) oven mitts, and a grill for the campfire
2. Get your campfire hot
You’ll want the fire to be very hot, but you don’t want the flames licking the bottom of the pitas or they’ll burn.
3. Assemble the Pita Pizzas
Set up a little pita pizza making station with all the available toppings and have everyone get their pizzas ready. Generally, it would go tomato sauce on the bottom, then meats, then toppings, with cheese on top. But, my kids don’t see any reason to follow convention and just pile anything on in any way they fancy!
4. Now to cook your camping pizzas
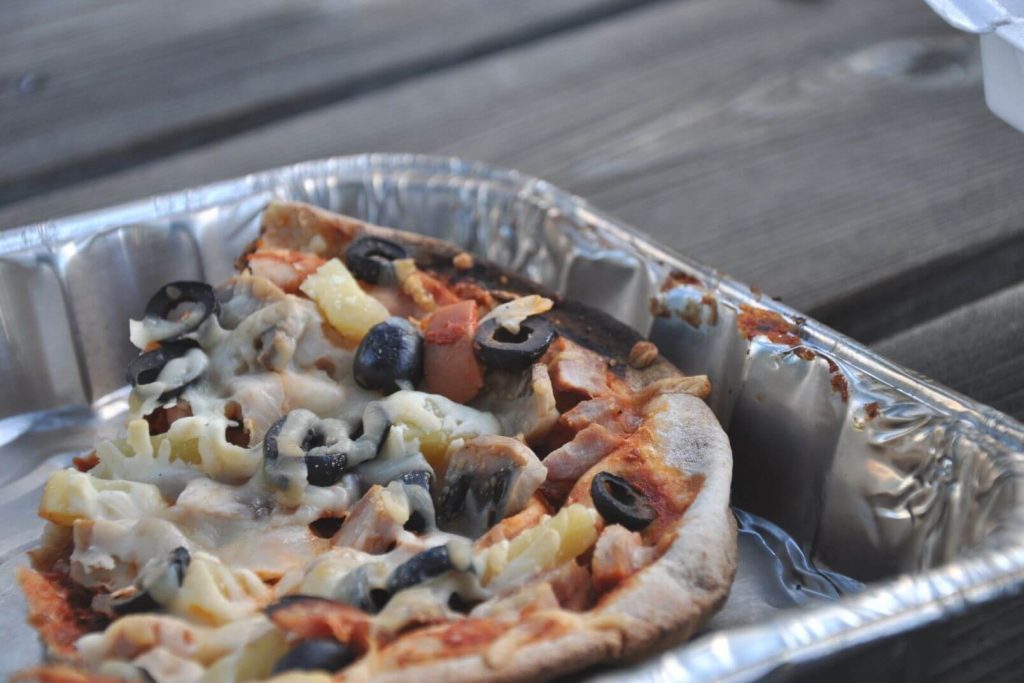
Once your pita pizzas are ready to cook, just slide them onto the grill. Many campers choose to cook theirs on a tray or inside a pan over the fire. If you put your pita right onto the grill, the pita will be very crusty, less so than if you cook it on a pizza stone or cast iron pot.
Using something to reflect the heat back down onto the top of the camping pizzas helps them cook more evenly. We tend to use an upturned pot or make a tent with aluminum foil to place over the pizzas.
After 5-8 minutes the pita pizzas should be ready to eat. A good indication is when the cheese is melted and is starting to bubble. The edges of the pita will be well toasted.
Slide them off the grill, cut, and serve!
A few notes about camping pizzas:
- These pizzas will not be on the hot fire long enough to fully cook all ingredients. We tend to pre-cook our onion, mushroom, or pepper toppings. Raw meats should definitely be cooked prior to using on these pizzas.
- These keep well for leftovers. In fact, our kids seem to enjoy them after a day as the crust usually softens up a bit.
- If you have a lot of people to feed and a small grill, it can take a while to get everyone’s pizzas ready. But, if you’re happy with casual eating around the campfire, then these are perfect.
Are you into family camping?
- make sure to pin these camping pizzas to your Camping Pinterest Board so you’ll have it come camping season
- check out other tips and tricks for simple and easy family camping. And, make sure to grab the camping packing lists too!
- Join the Take Them Outside community to get all the outdoor family things delivered right to your inbox every week
Other camping foods you’ll want to check out:
- Egg cups with ham, campfire breakfast recipe
- Huge list of camping foil meals that you need to check out!
- Tacos in a bag, because chips for diner is so exciting!