Looking for a fun and easy fall or winter bird activity for your kids? Wanting to make some DIY Christmas gifts for neighbors and teachers while you’re at it?
Cookie cutter bird seed ornaments for outside are the answer!
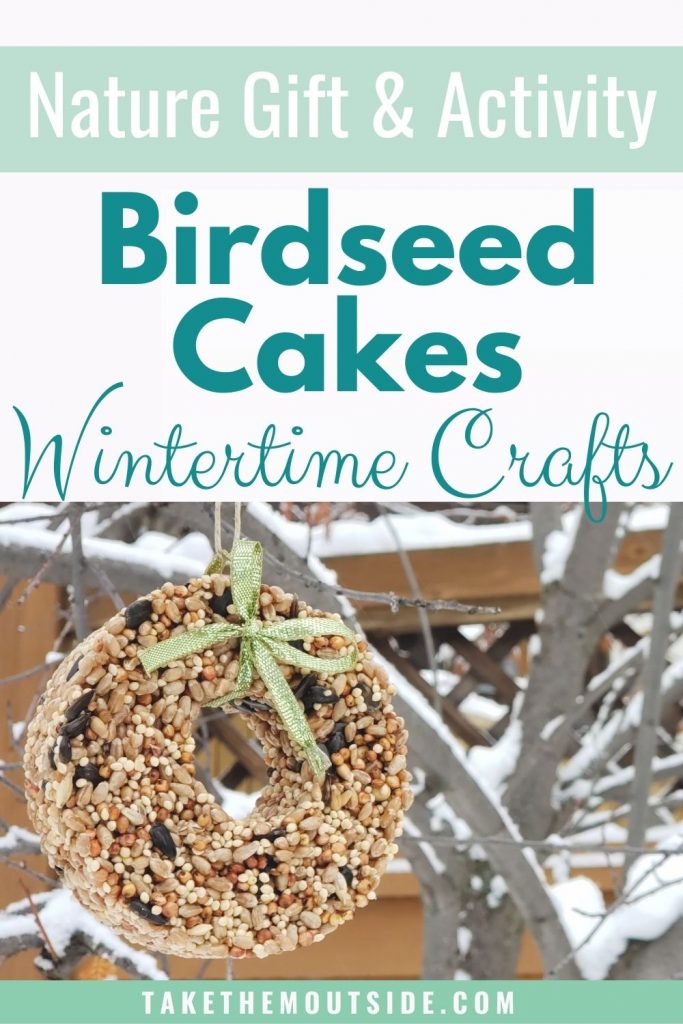
These are super easy to make and aside from the time it takes for them to harden and dry they’re pretty quick too.

Let’s skip right to the recipe because that’s what you’re here for!
How to make birdseed ornaments
Bird Seed Ornaments
Equipment
- pot and stove (or kettle to boil water)
- baking sheet
- parchment paper
- cookie cutters
- spray oil
- straws
- string, twine, or ribbon
Materials
- 2 packs plain Knox gelatin
- 1/3 cup water
- 2 cups standard birdseed mix
Instructions
How to make birdseed cookie cutter ornaments
- Mix together 2 packages of gelatin with 1/3 cup water. Either use boiling water or heat this on the stove to dissolve the gelatin.
- Then once the gelatin is dissolved, mix in 2 cups of birdseed.
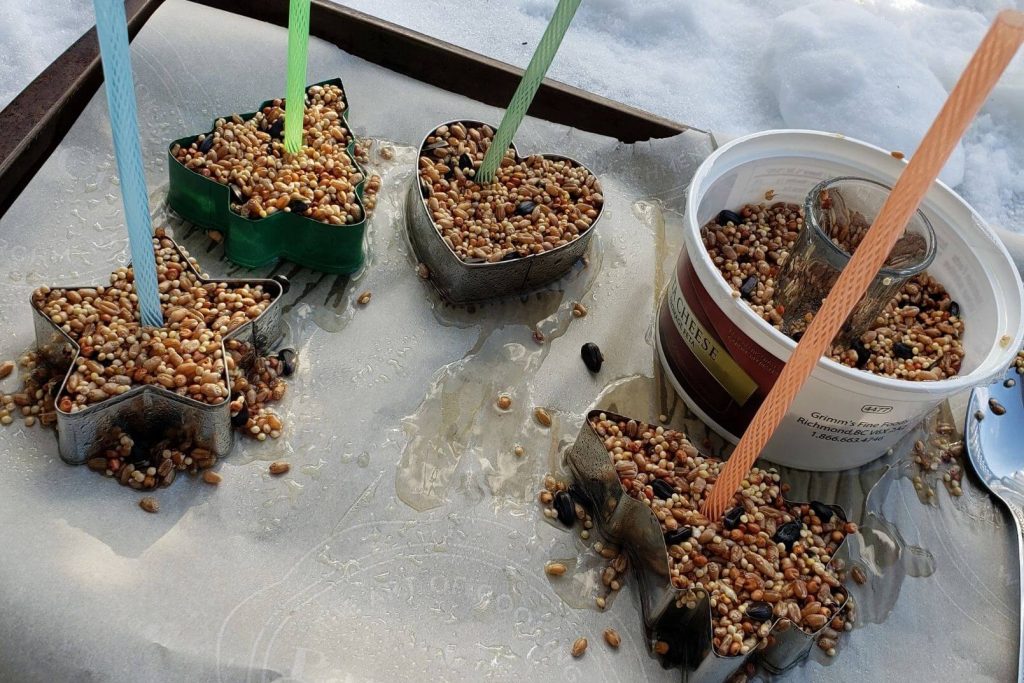
- Place cookie cutters onto a parchment-lined baking sheet.
- Spray the cookie cutters with oil. This helps the bird seed cakes slide out once cool.
- Press and tap the mixture and fill the cookie cutters with the wet birdseed mix.
- Then, insert a straw into the shapes. The straw helps make a hole for stringing once hardened.
- Place the tray of birdseed cakes somewhere cool like the fridge or outside.
- Once the gelatin has hardened you can remove the straws and slide the cakes out of the cookie cutter shapes.
- Insert a ribbon or piece of string for hanging.
Notes
You might notice in the video that I actually added flour (or was it cornstarch?) to my recipe. I have now made the birdseed ornaments with the additional flour/cornstarch and without, and they seem to be fairly similar with or without the added flour/cornstarch. So, I figure the less added ingredients for our feathered friends, the better!
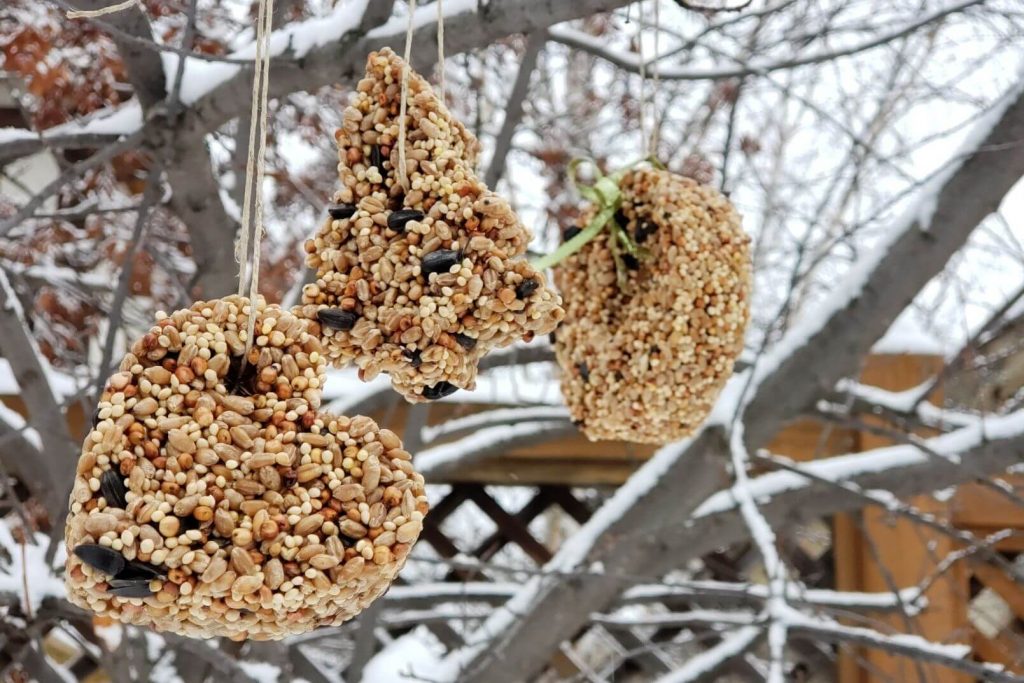
I recently made a batch and pushed in some frozen cranberries while they were setting and the added pops of red are lovely in the finished bird seed ornaments! And, I assume the birds will either eat them or let them fall to the ground…. but, they look great!
Tips for Making birdseed Wreaths
In the video and photos you can see that one shape we made is a small wreath. To make this shape we cut the bottom off a medium yogurt container and added a shot glass for the middle. If you had doughnut cutters they would work as well.
And, if you’re up for making a giant birdseed wreath you could use a bundt pan (cake pan with a hole in the middle).
Another shape we used recently was a simple square. We put the hanging hole towards the corner so it hags in a diamond shape. We also pushed a small twig into the birdseed before it hardened so the birds have a little perch to peck from.
Birdseed Ornaments make great teacher gifts and DIY Christmas Gifts too!
Last Christmas we made a whole bunch of these and wrapped them up for neighbors, teachers, friends, and family.
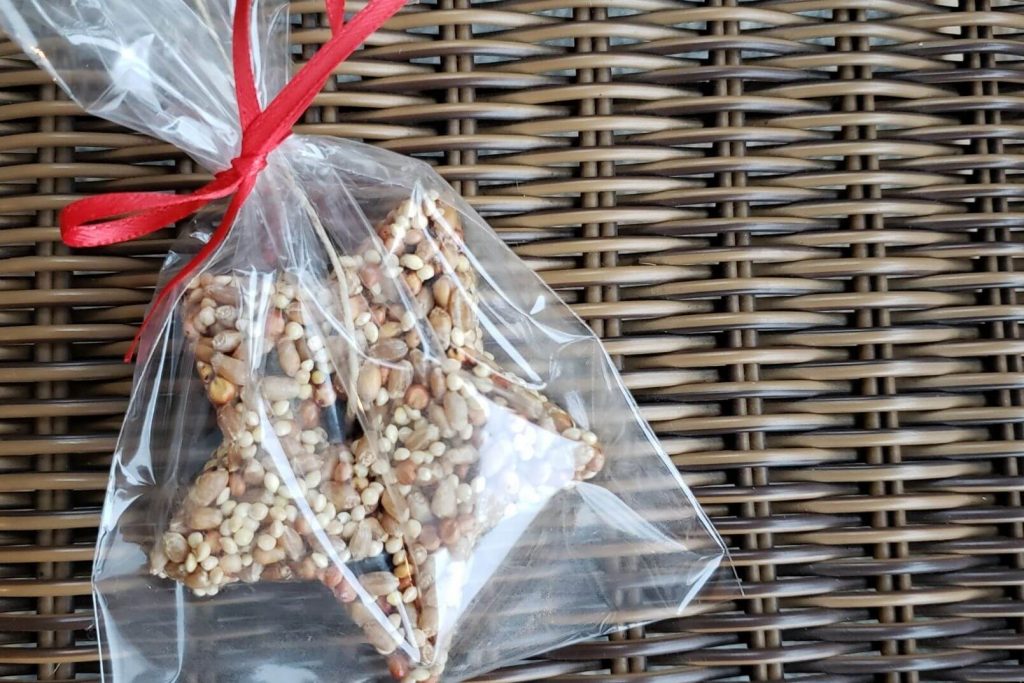
We used small plastic bags tied with red ribbon for a festive touch. I liked that we could see through the baggies and see those beautiful birdseed ornaments.
Very Important: Tips to avoid mould growing on your bird seed ornaments
I noticed that the one bird seed ornament I had neglected to give away did grow mold after being in the plastic bag for a few weeks. Yuck! Because of this I would recommend only wrapping them directly before gifting and ask the recipient to hang them outside as soon as possible.
I have also recently started punching a few holes into the plastic bags to ensure some air flow in the bag and around the ornament.
A few of my larger wreath ornaments were gifted in small paper bags and this seemed a better option if the ornaments must be in packages for a longer period of time.
I have also froze them prior to gifting them to ensure they stay fresh before your receives them and puts them outside.
Bonus Tip: You might want to slip a note into the bag identifying that these are indeed for the birds… just in case! I did have one gift receiver think it was some sort of ‘health cookie’ once!
What did the birds think of these?
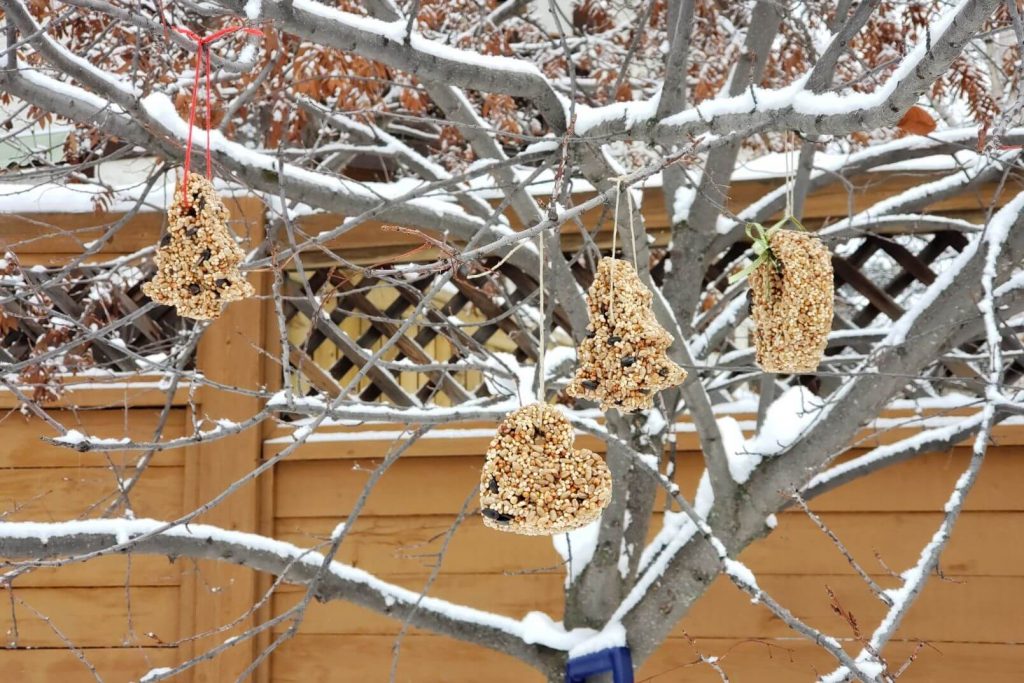
Well, I’ll have to admit watching the birds eat these bird seed ornaments was more entertaining than I thought it would be… and I also felt a bit guilty for causing such frustration for some of our backyard birds. You see, we just hung the ornaments randomly in our trees without considering placement and access.
They tried sitting on the branch above and pecking down. They tried pecking while flying and jumping. And, every time they did hit the ornament, the ornament would swing wildly making the next peck somewhat risky.
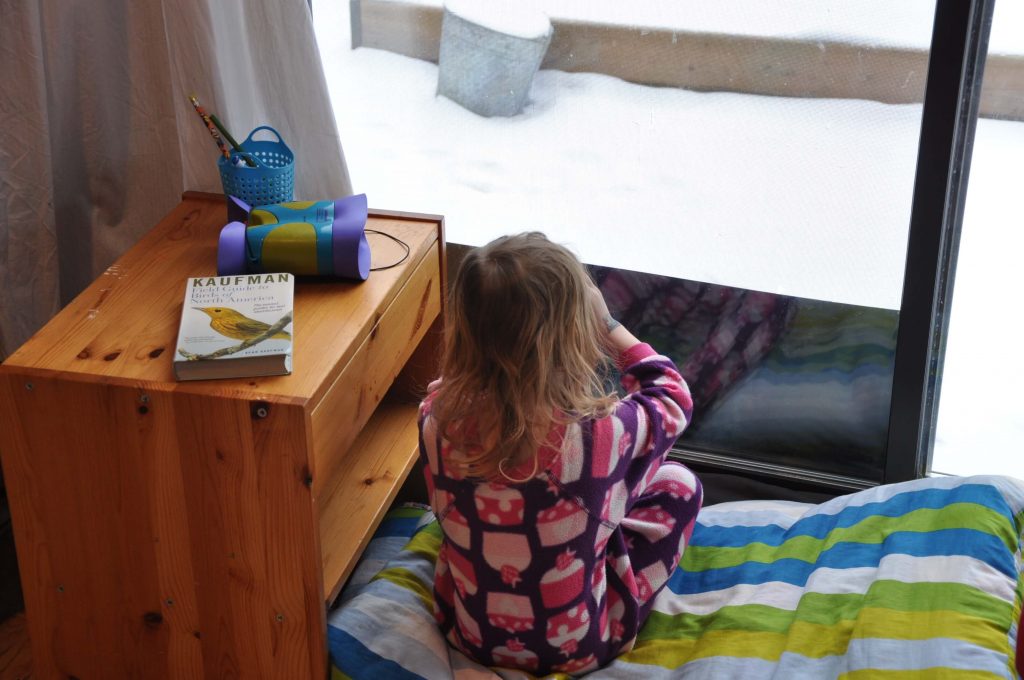
After some giggles we went out and relocated all the ornaments so birds could easily eat off them while sitting safely on a branch below. We also made sure to hang them in a spot we could easily see from our indoor birdwatching station!
However, the smaller chickadees didn’t have a problem at all since they were small enough to sit right on the ornament itself.
I’ve seen the larger seed wreaths made with a perch or two stuck into them and this seems like a helpful idea. I also considered just sitting them on our fence posts for the birds to eat that way.
We look forward to making some of these as December arrives, to both gift to friends and to put some into our own backyard as a way to encourage birds to visit in the winter.
Looking for more ways to bring birds into your family’s day?
- How to attract birds to your yard in the wintertime
- Invite learning with an indoor birdwatching station
- Quick ways to introduce birding to your kids
 <
<
How long did these take to set? I would love to do this at work for storytime, but I’m afraid they will take too long.
Hi Amy, Yes, they do take a while to set. I wonder if you could use forms on paper plates that they could bring home with them like yogurt tubs or something? That way they can just recycle the container once the gelatin has set at home later?
Hi Amy, another thought: What about taking a 2L milk carton and cutting it so you get square forms, maybe you could get about 6 or 7 from one container. Then the kids could use these forms to make their bird seed ornaments and as long as they were left to set on something easy for them to transport home, like paper plates, the kids could bring them home to wait for the feeders to fully dry. Good luck! And thanks for reaching out:)